
Tel: +86 17310763143
E-mail: sales@nmgymjx.com
Website: www.nmgymjx.com
Address:The intersection of G242 and 311 roads, Langshan town, Linhe district, Inner Mongolia, China.
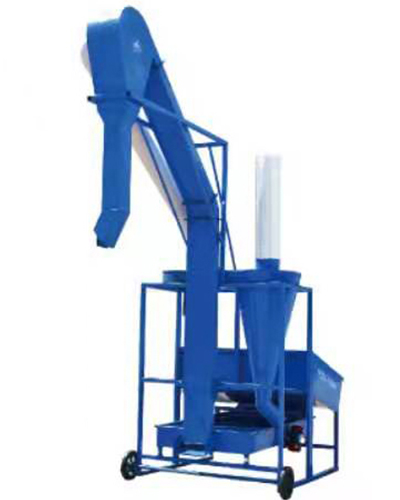
The following is a content edited by Xiaobian for everyone about the installation method of DMC single-pulse bag filter. If you have related needs, you can pay attention to understand.
1, shipping situation
For the convenience and safe transportation of the DMC dust collector, the air bag pulse valve and exhaust fan in the injection system are shipped according to the list. The box body, the ash bucket, the outriggers, the air inlet pipe and the ash discharge pipe are delivered in packets, and the filter bags are packaged and shipped.
2, the installation steps
(1) The process layout, equipment sample drawings, and equipment components shall be verified and understood.
(2) Reserve holes for civil works, pre-buried steel plates and space dimensions for acceptance and inspection, whether they are consistent with the design, and verify with the actual equipment. If there is any error, install them. If there is any difference, install them after treatment.
(3) Installation of the ash bucket (if there is no dust collector with ash bucket, no such item).
The ash bucket allows 180 degree steering, and the four corners of the ash bucket should fall on the embedded steel plate. The lower hopper of the ash hopper should be consistent with the center of the reserved hopper, and the non-coincidence of the anchor and the embedded steel plate should not exceed 1/4 of the size. The level of the plane on the ash bucket should be <1/1000
(4) Upper housing installation:
The upper casing is placed above the ash hopper, and the intermediate part of the bolt can be closed with an asbestos rope. Pay attention to the direction when installing, and the side of the blower should be on the side where the air outlet is reserved.
(5) Install the fan bracket and fan
The fan bracket is welded to the upper housing to support the fan. The motor base and the motor bracket are connected with the fan bracket, and are connected to the clean air chamber of the upper casing of the dust collector through the connecting pipe. When installing, first connect the connecting pipe to the fan port, adjust the exact alignment of the fan bracket and the motor bracket, and weld it firmly. Then design the marked position according to the drawing, align the connecting pipe with the position given by the positive dust collector housing, and cut the clean air chamber casing blocked on the fan connecting pipe. It is noted that the fan spindle must be level.
(6) The installation air bag of the pulse valve and the air bag is fixed on the bracket, and the bracket is welded and fixed to the fan casing. The position of the bracket is determined according to the height of the pulse valve, because the high voltage is used between the pulse valve and the distribution pipe above the air bag. Rubber tube connection, installation height error should be within the rubber adjustment range, the air bag should be kept level. The assembly ports at both ends of the air bag, one connected to the pressure gauge and the other connected to the air filter.
(7) Installation of air inlet (no dust collector without ash bucket, no such item)
The air inlet is welded on the ash bucket, and its direction is determined according to the direction of the process. The installation height and the length exposed outside the ash bucket are determined according to the selection drawing.
(8) Installation of high pressure air filter
This part is carried out under the installation instructor, one end is connected to the air bag, and the other end is connected to the air supply pipe of the air compressor.
(9) Installation of the ash discharge valve
The upper port of the ash discharge valve is connected with the ash bucket by a flange, and the lower port is coupled with the lower non-standard component.
(10) Installation of venturi tube, spring frame and filter bag: After confirming the above work, perform this work, and put the venturi tube from the top door of the dust collector into the flower plate (the spray pipe is installed and can be removed first) Insert the spring frame into the filter bag, thread the hook from the bottom of the filter bag into the bottom of the frame and fix it to the frame, then put the spring frame into the venturi tube for 3-4 turns, and place the venturi on the top to filter The bag is stuck on the hole of the flower plate, adjusted to a suitable level, and the hook under the spring frame is fixed on the opening below the dust remover.
(11) The pulse controller is generally installed on the side of the box of the dust collector, and can also be placed in the control room for centralized control. For details of the installation wiring, refer to the controller manual.
3, precautions during installation
(1) Please read this manual and drawing materials carefully before installation, and install the shipping list to check the quantity and quality of all parts. If there is any problem, please handle it in time or contact us.
(2) Install in order, each step must be quality checked, and it is accurate and correct before proceeding.
(3) The lifting of the equipment should pay attention to prevent deformation. When the equipment leaves the factory, the lifting parts are welded to the key parts to facilitate lifting.
(3) After the upper box and ash bucket are installed, all the links should be sealed and airtight. If welding is required, it must be welded. For fasteners, a gasket must be added and all fasteners tightened. For the leaking place, the silicone or epoxy resin is used for plugging. The sealing of the dust collector is the main factor affecting the normal operation and dust removal effect of the dust collector. The dust collector requires the air leakage rate to be less than 5%.
(4) When assembling the injection system, the field group must be clean and free of any debris. All joints are filled with sealing material, using Teflon tape, and tested without leaking.
(5) Carefully and carefully work in the installation of the spring frame and the filter bag chamber, so it should be placed at the end. When installing, the filter bag must not be collided with hard objects or hooked. Even small scratches will shorten the life of the filter bag.
(6) After installation, the dust in the clean air chamber and the ash bucket must be cleaned up.

Reprint statement:
The article is reproduced on the Internet for the purpose of transmitting more information and does not imply endorsement of its views or verification of the authenticity of its content. If the reprinted works infringe the author's right to authorize, or have other damages such

De-impurity
Delivery of the wind for raw material

Dmс-160 type pulsed jet cloth filter
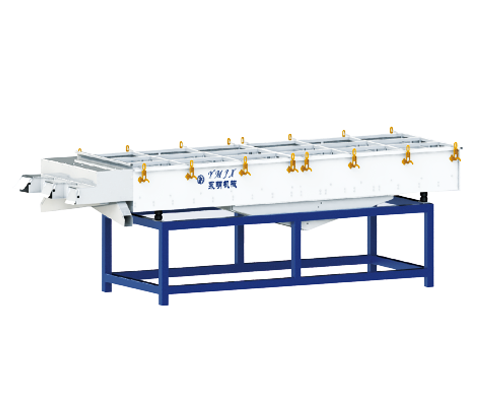
Grading screen
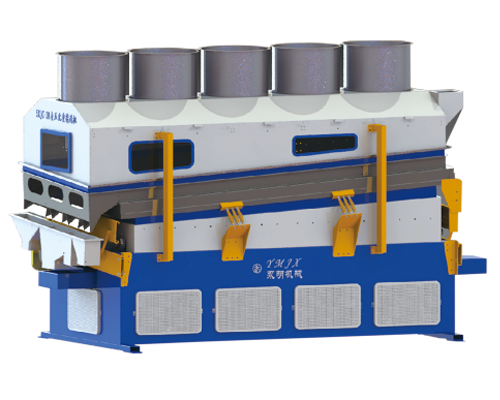
Polisher
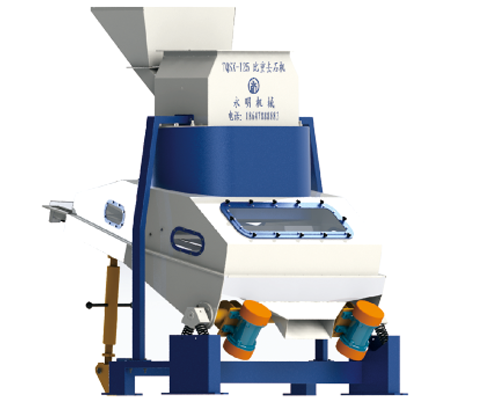
De-stoner
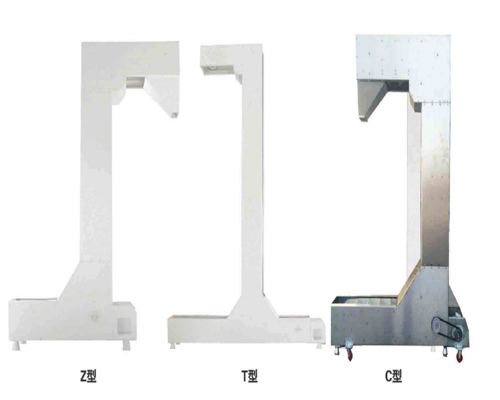
Unbroken elevator
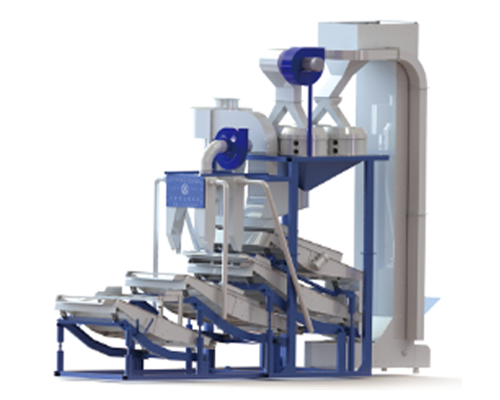
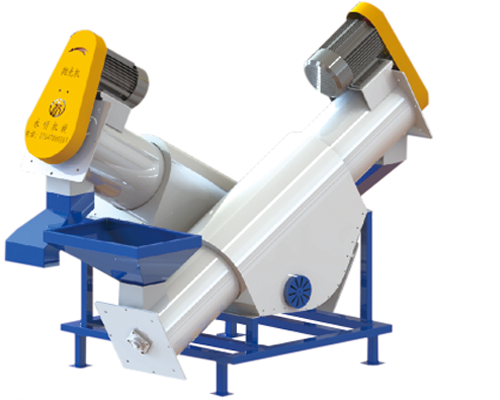
KTF4-3000 Sunflower seed hulling & separating machine
Ident cylinder sunflower seed cleaning machine
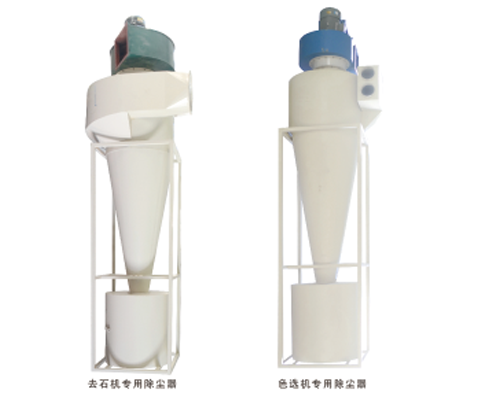
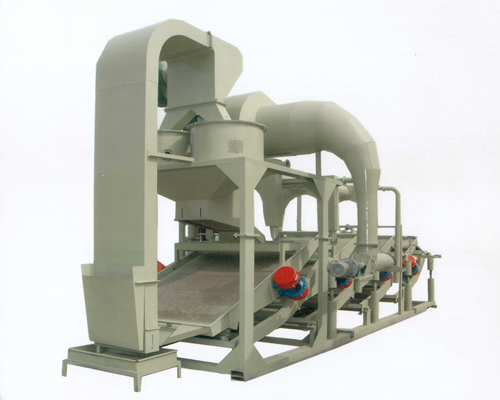
Product introduction of cyclone dust separator
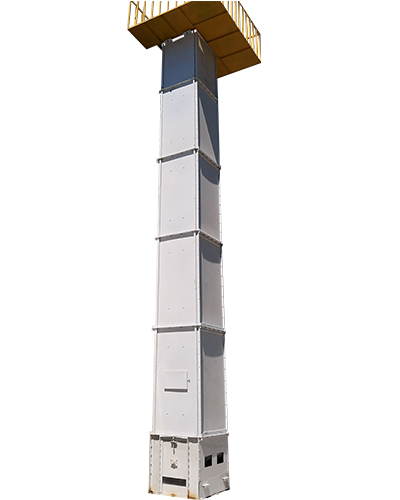
Vertical hoist
Gravity separator
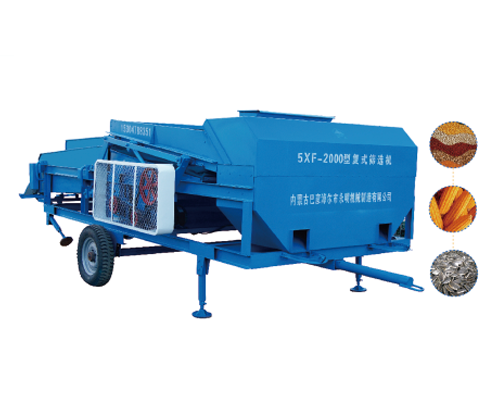
5XF-2000 type compound screening machine
KTF3-1200 Sunflower seed hulling & separating machine

KTF4-2800型葵花脱壳分选机
巴彦淖尔市永明机械制造有限公司
Yongming Machinery Manufacturing Co., Ltd.
Honesty molded brand service a bright future
| Service Hotline: 400-0478-123 | |
Sale Line: +86 17310763143 | |
E-mail: sales@nmgymjx.com | |
Address: The intersection of G242 and 311 roads, Langshan town, Linhe district, Inner Mongolia, China. | |
| Website: www.nmgymjx.com |

Scan and follow us